What sports drinks should I use for re-fuelling?

What sports drinks should I use for re-fuelling?

This is a really great question I was asked by a client training for a half-marathon. When I researched into the topic, I was surprised to find how complex the energy drink market had become. There was a lot of jargon, but very little information on the difference between the 3 main types of sports drinks available on the market. These are: isotonic, hypotonic and hypertonic. Below are some of the key facts about sports drinks and what to look for.

What are the difference between the 3 types of drinks?

  • Isotonic - same volume of water and sugar (quenches thirst and supplies a little energy)
  • Hypertonic - more sugar than water (supplies energy)
  • Hypotonic - more water than sugar (quenches thirst)

What should I use if I exercise for under an hour?

If you exercise for under an hour, water or a hypotonic drink is fine. You can also used a hypotonic drink to help quench your thirst.

What should I use if I exercise for more than an hour?

If you exercise for over an hour, an isotonic or hypertonic drink/gel would work well as long as you have water available, too. Most brands (Lucozade) have a range, so you'll need to have a read of the packaging to see which variation they are.

Examples of the different drink types:

https://www.lucozadesport.com/products/sport/ = Hypertonic = Good for endurance

https://www.lucozadesport.com/products/sport-elite/ = Hypertonic = Good for endurance

https://www.lucozadesport.com/products/fit-water/ = Hypotonic = Good for less than an hour of exercise (basically looks like water)

https://www.lucozadesport.com/products/sport-lite/ = Isotonic (I think) = Good for 1-2 hours of exercise, but you'll most likely need to have a Hypotonic too

How often should I take a hypertonic drink if I'm competing in an endurance sport e.g. running a half marathon, cycling a sportive?

The general rule is that your stomach can digest approximately 60 grams of cabohydrate/hour. Therefore think about having 30grams of carbs/30 minutes.

How do I know my nutrition is right for me?

At the end of your endurance event check how you're feeling.

  • If you feel like you're pumped, you probably had the right nutrition
  • If you're feeling exhausted, probably not enough, so add an extra 5-7g of carbs per 30 minutes
  • If you stomach feels uncomfortable, probably too much carbs/try a different brand.

Happy Training!

If you experience upper/mid back and neck pain, these stretches are a must

If you experience upper/mid back and neck pain, these stretches are a must

Kyphosis is the excessive convex curvature of the spine and you may find that you suffer from symptoms related to kyphosis.

May people who work in an office find that their upper and mid backs ache after long hours in the office. Throw in family life and lifting children up and you may end up with chronic (long term) back and neck pain.

Symptoms include mid/upper back pain, neck ache, head ache at the base of the skull.

Signs include the head jutting forwards, shoulders forwards of the ears, thumbs rotated inwards.

These stretches will help stretch out tense tissue, which can feel tired after a long day sitting at a desk. Try to hold for 30 seconds to 1 minute. If they become too uncomfortable, then come out of the stretch and go back in when your body feels a little more comfortable.

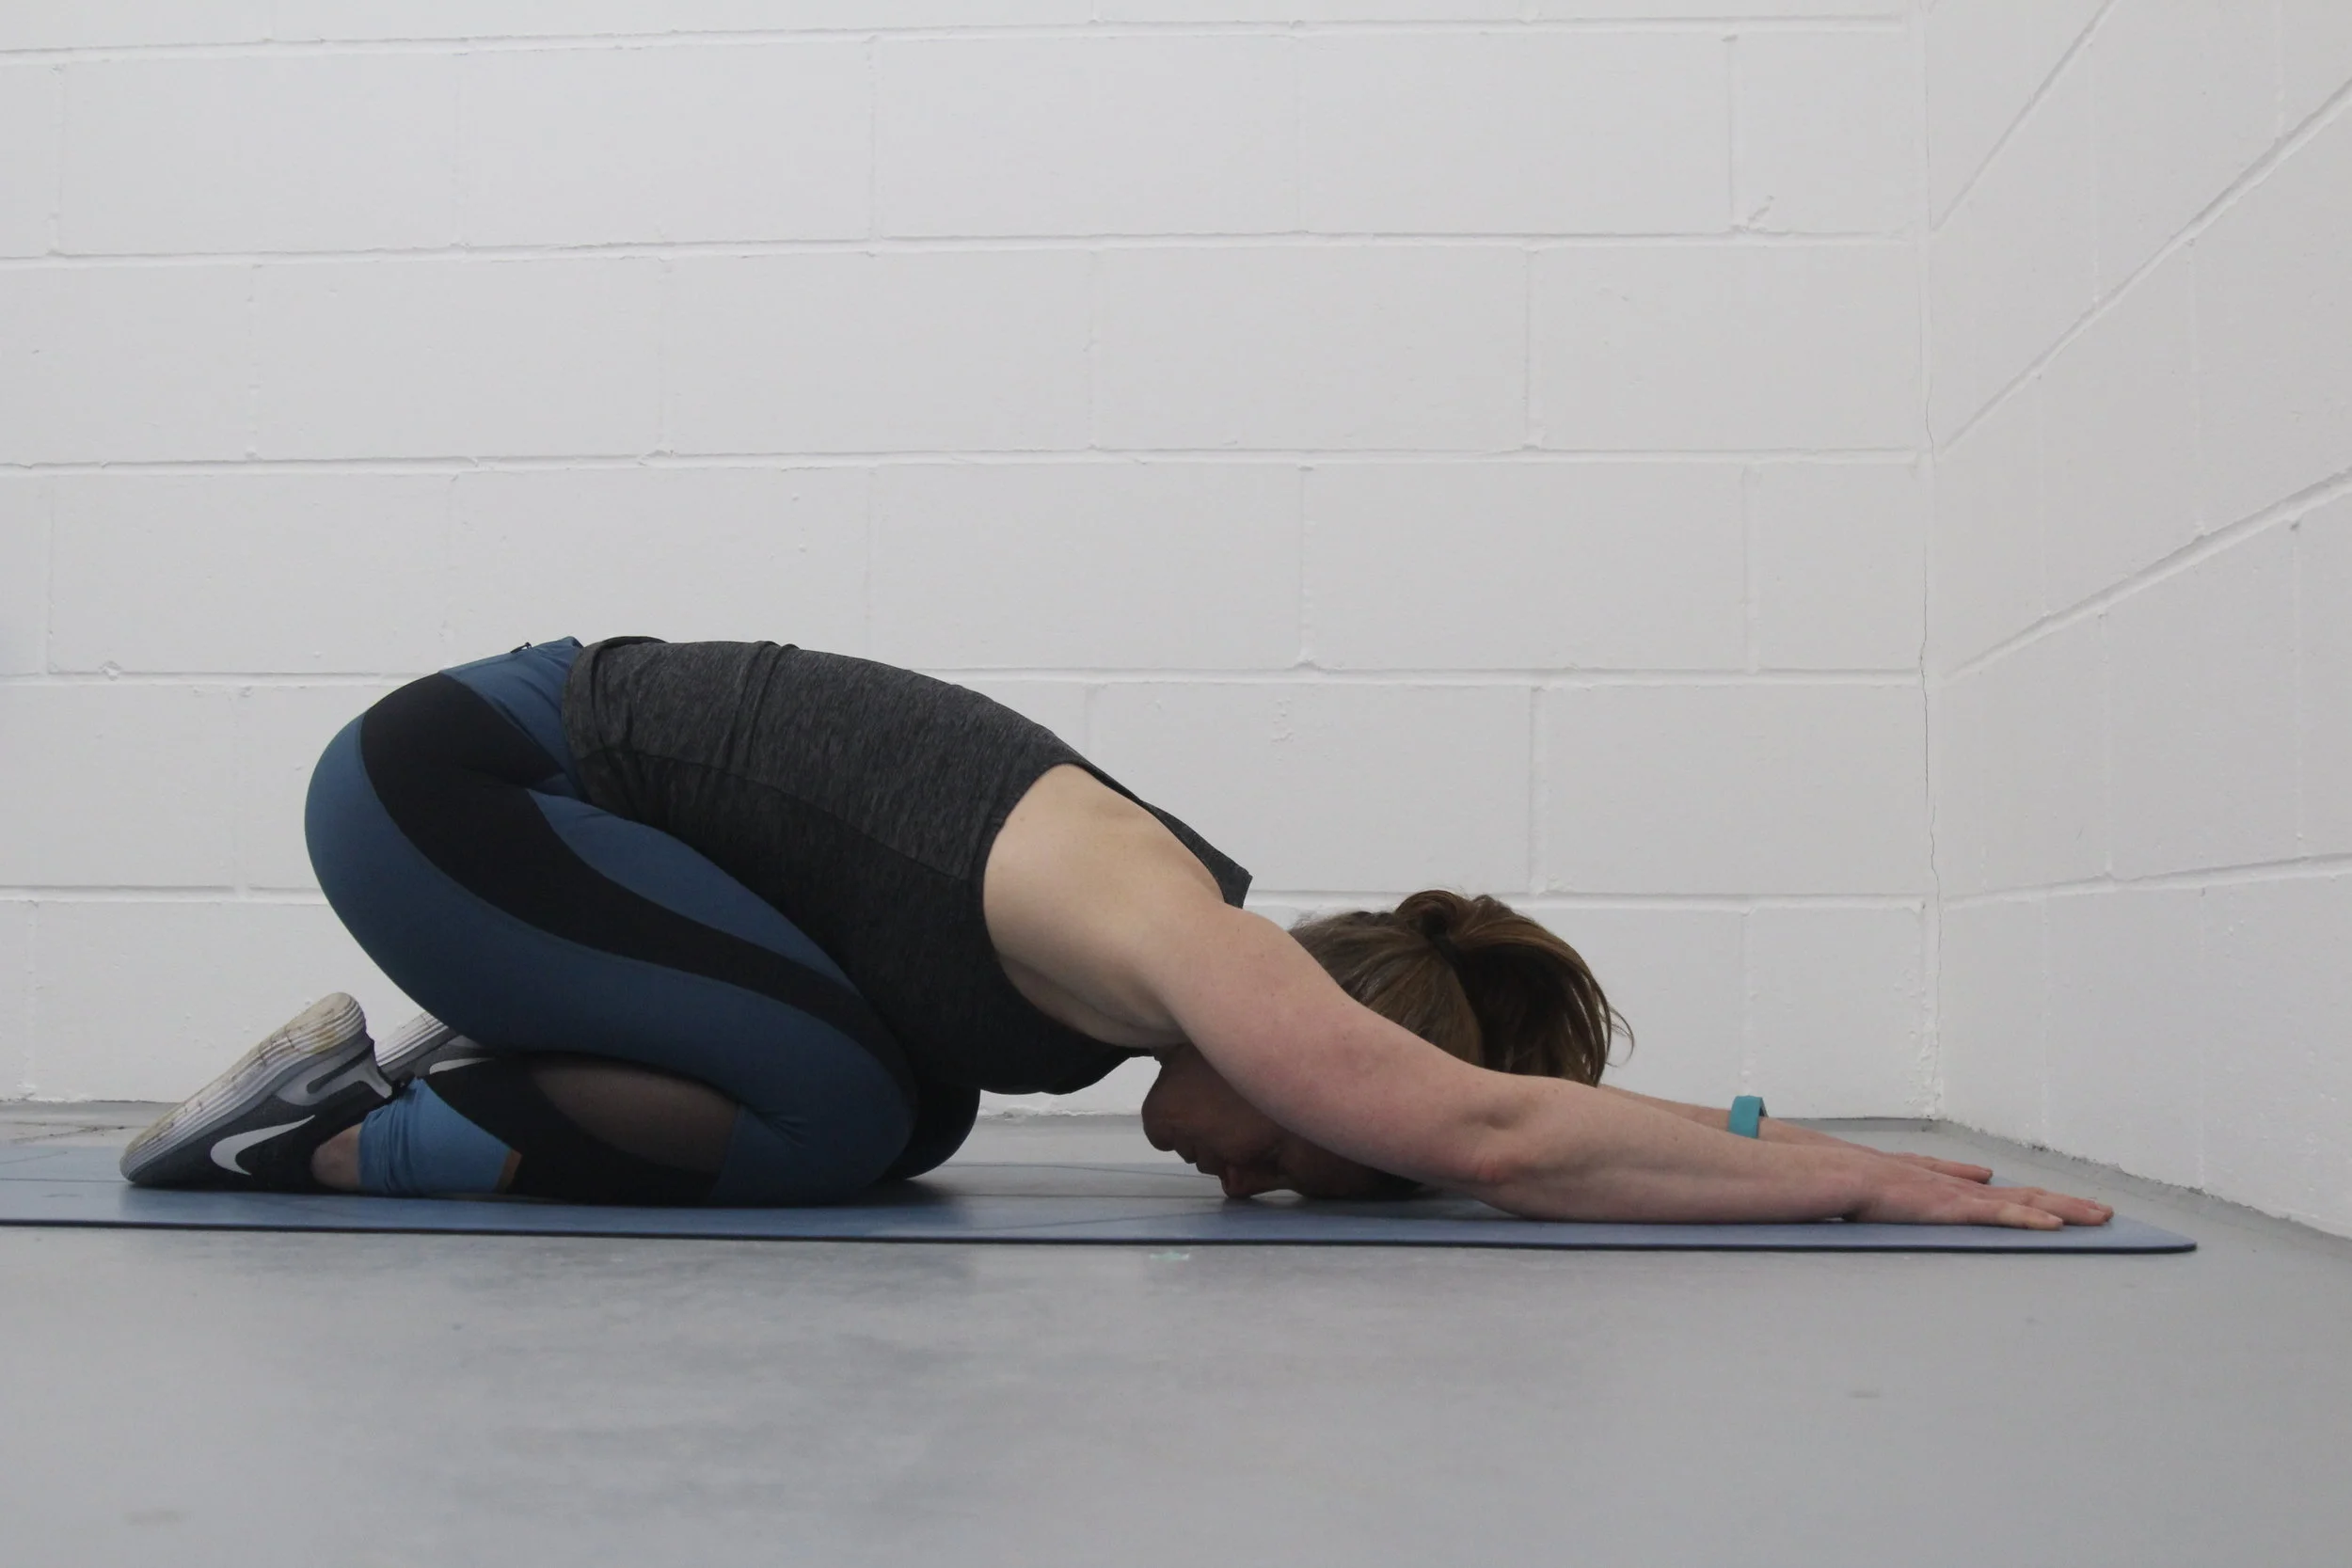
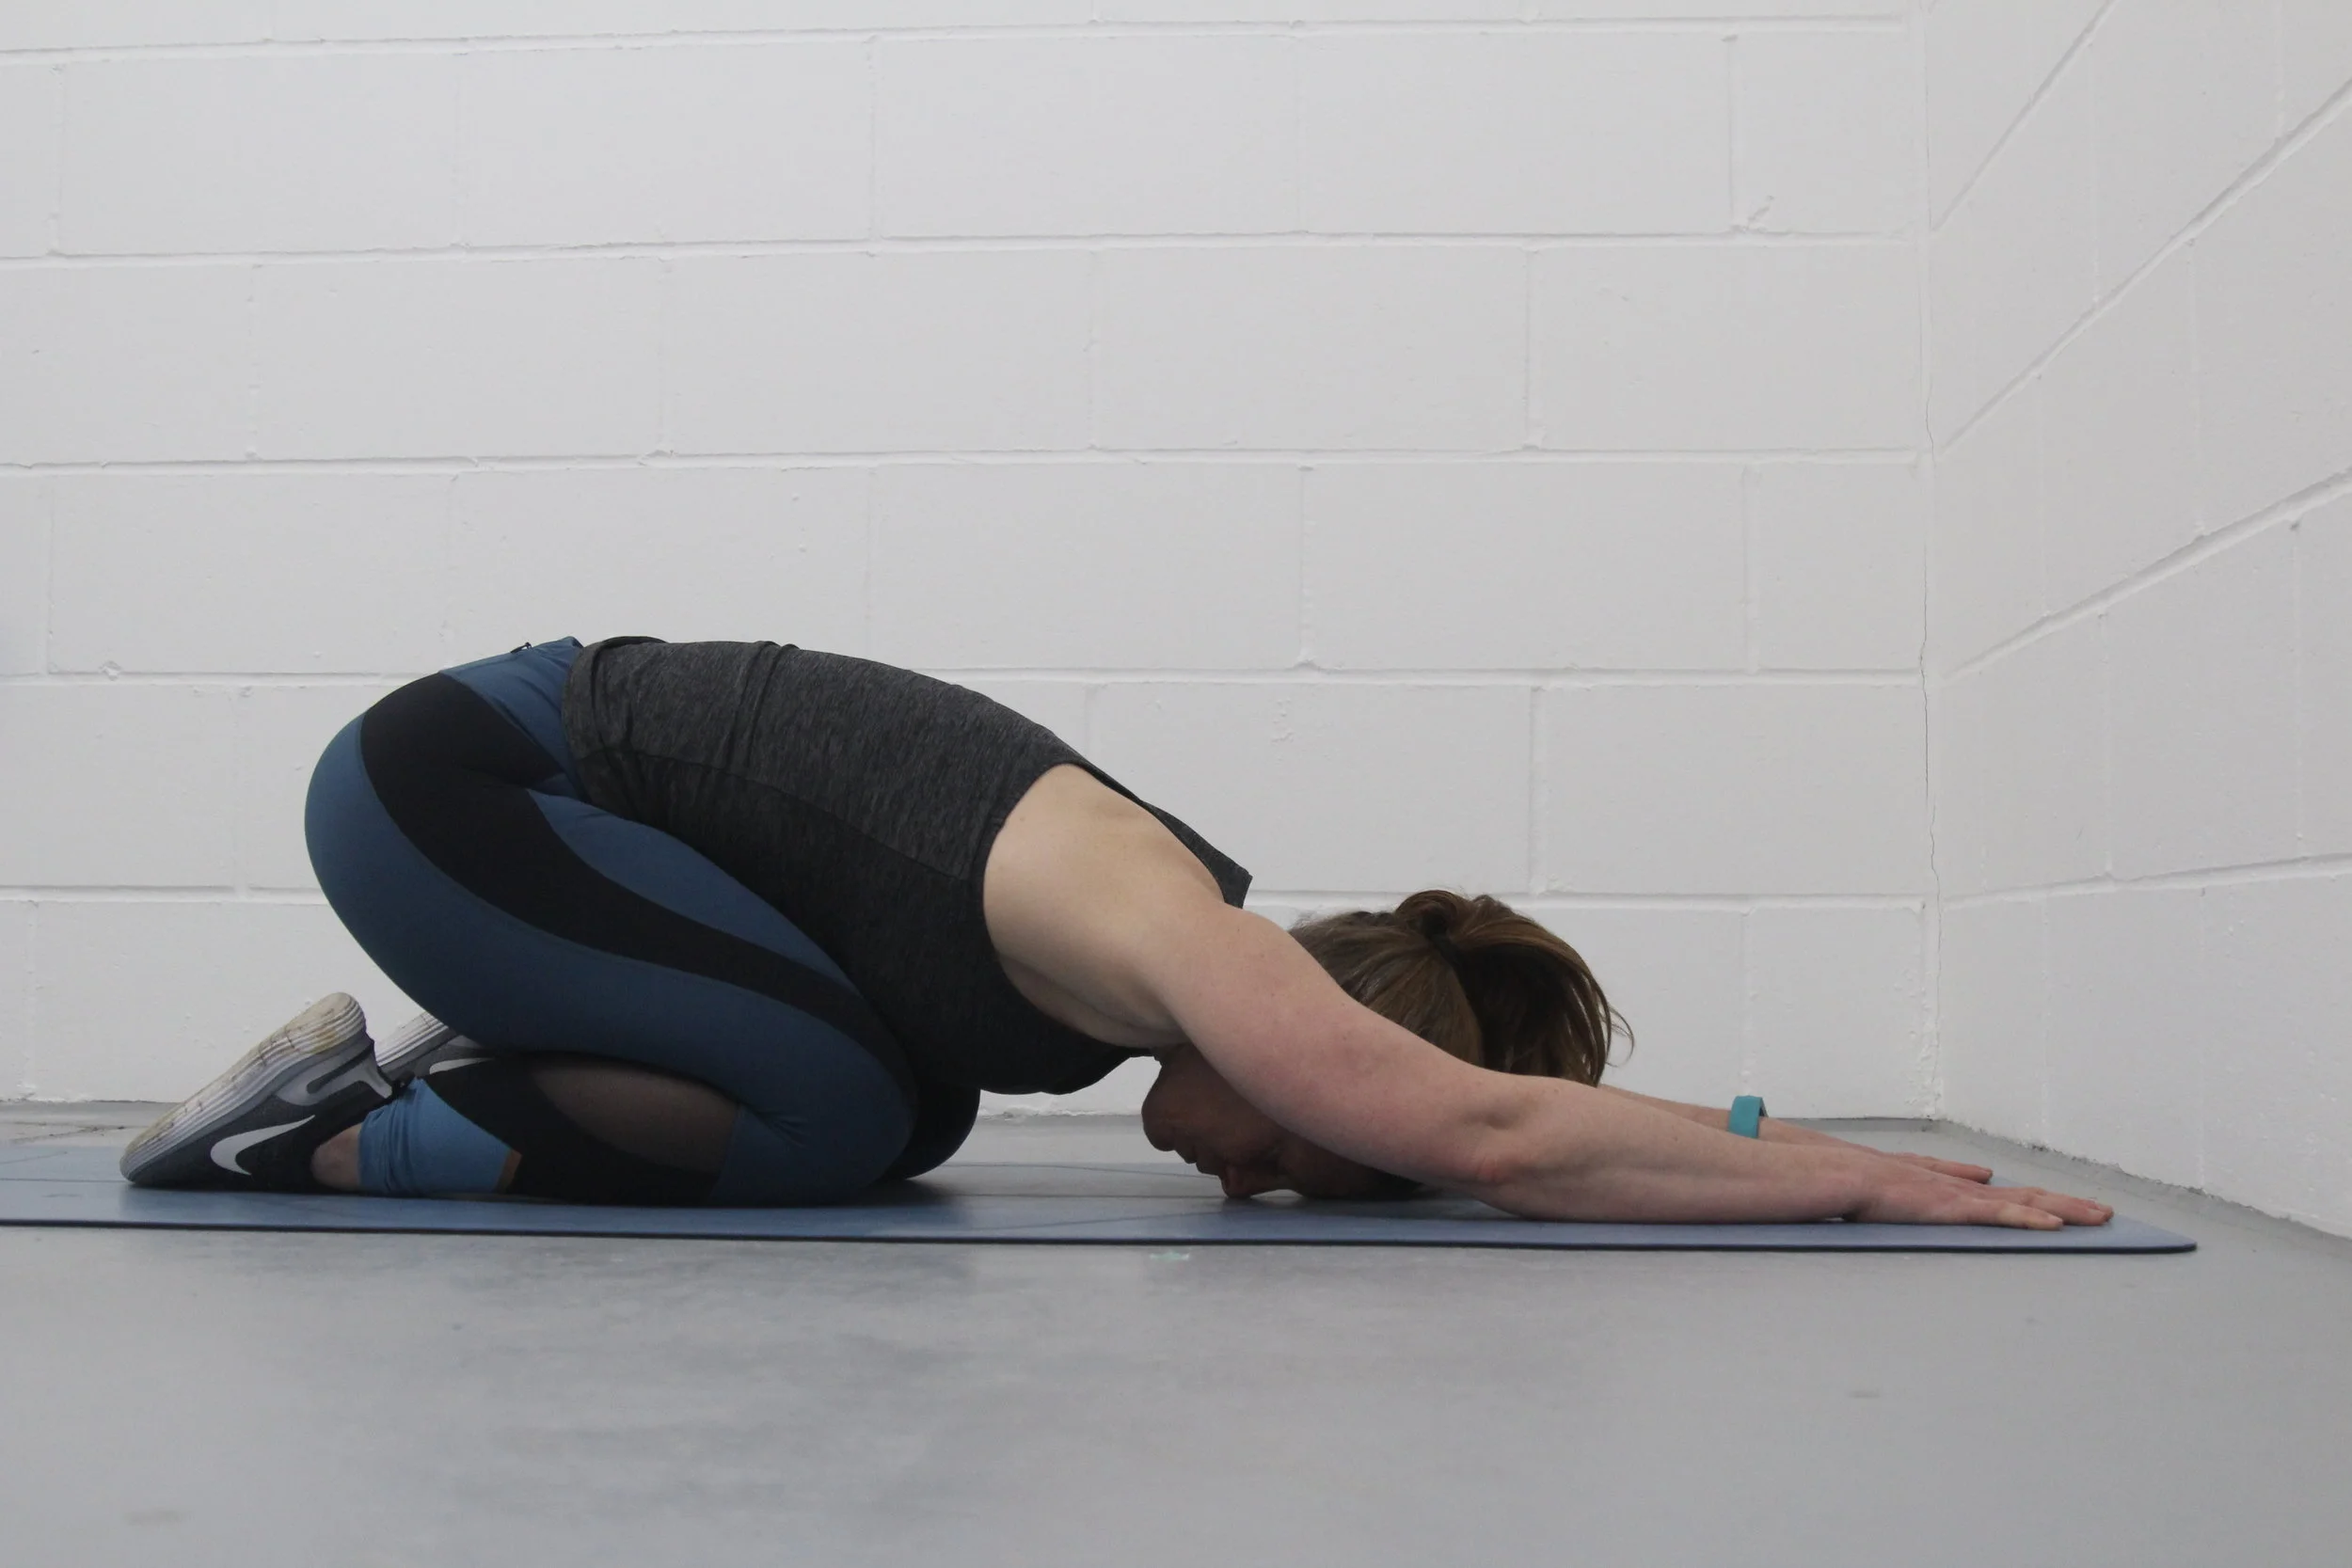
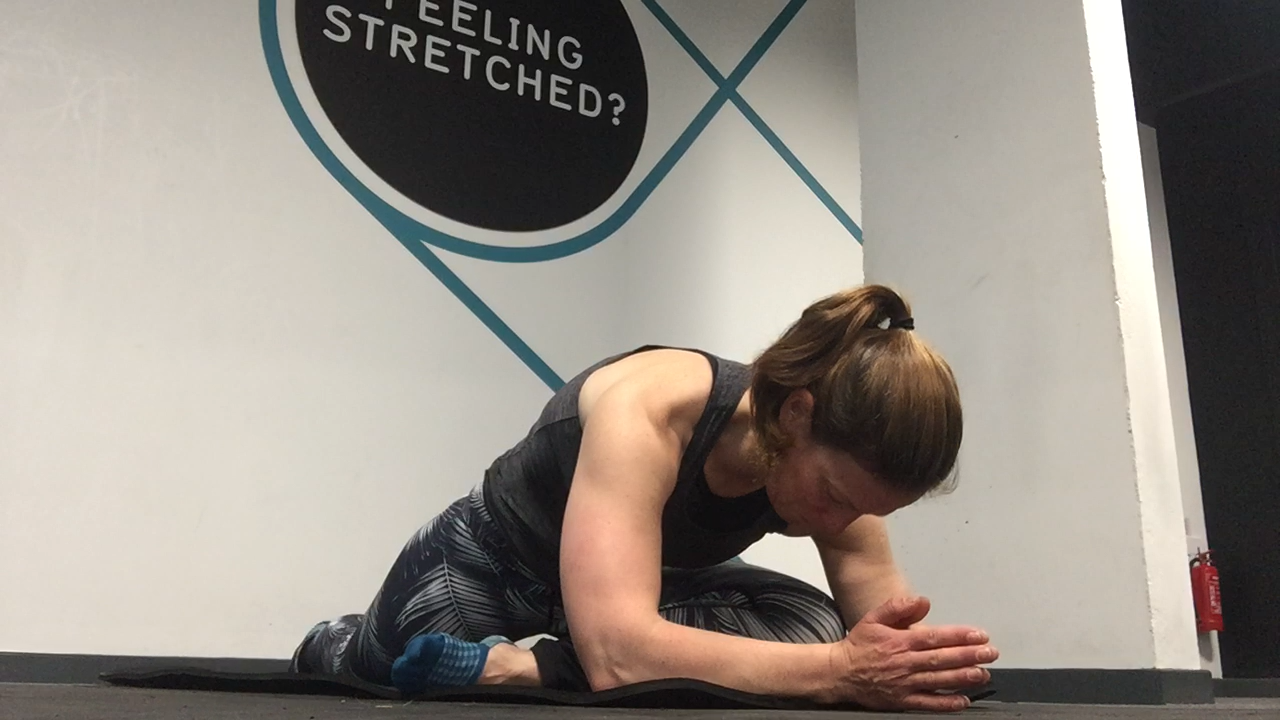
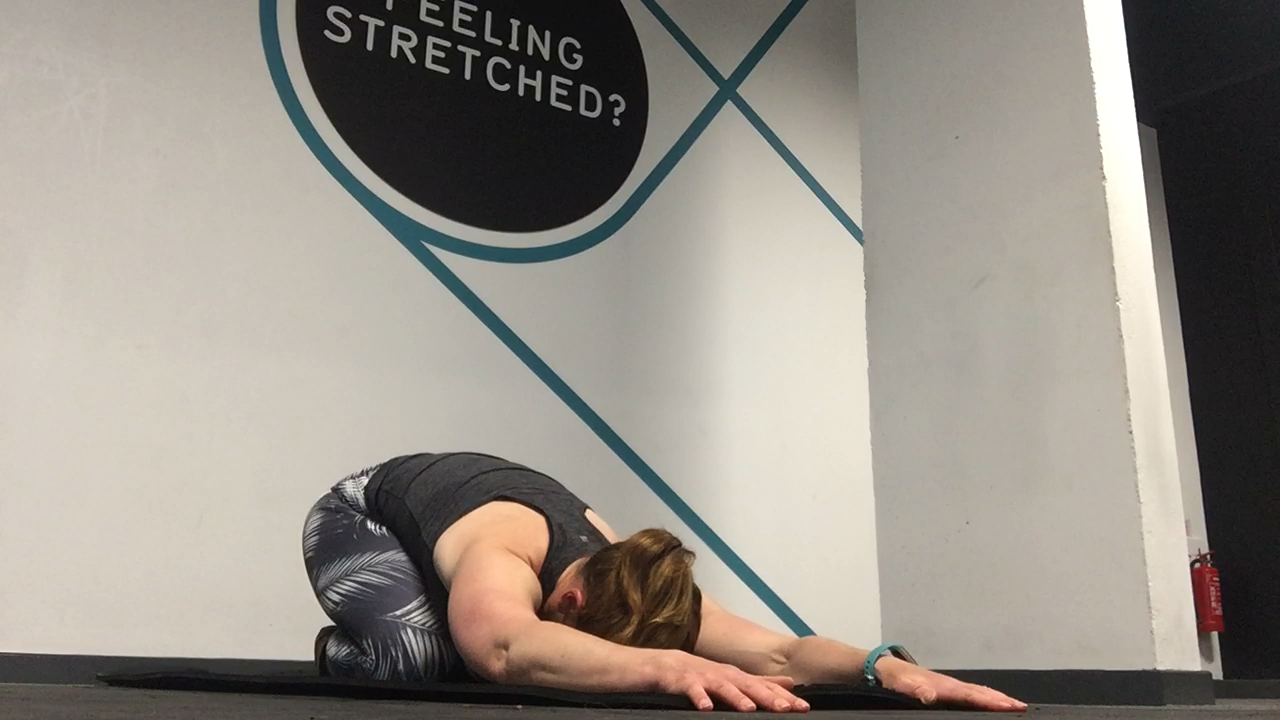
Childs Pose:

You should feel this release along the length of your spine, under your arm pits and possibly in your shoulders.

In a kneeling position, sit back on your feet, place your hands out in front of you and try to get your glutes to touch your feet.

In a kneeling position, sit back on your feet, place your hands out in front of you and try to get your glutes to touch your feet.

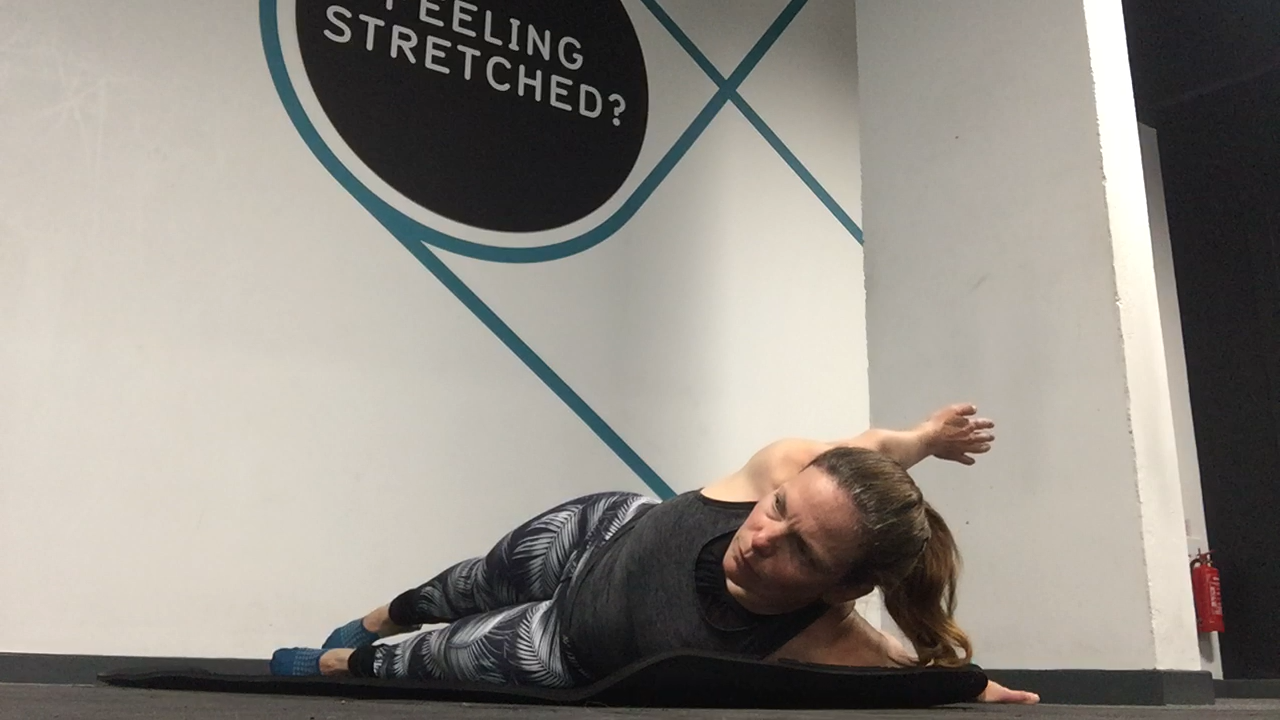
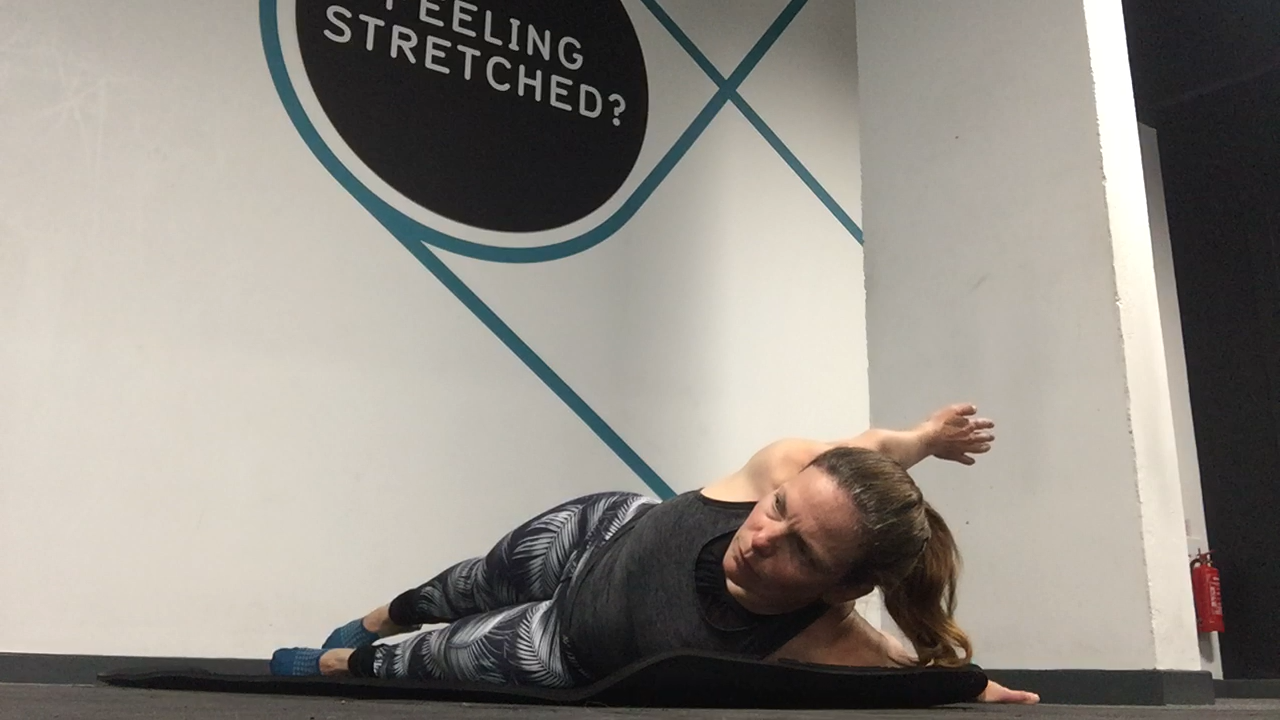
Chest Stretch:

As we all work at desks all day, our chest muscles get very tight. This can be seen in both men and women. This stretch works on releasing the pec and shoulder muscles.

Lie on your chest, with your arms out to each side, with the palms down. Rotate around your spine so one hand faces towards the ceiling. You should feel a stretch through your chest and possibly your shoulder.

Lie on your chest, with your arms out to each side, with the palms down. Rotate around your spine so one hand faces towards the ceiling. You should feel a stretch through your chest and possibly your shoulder.

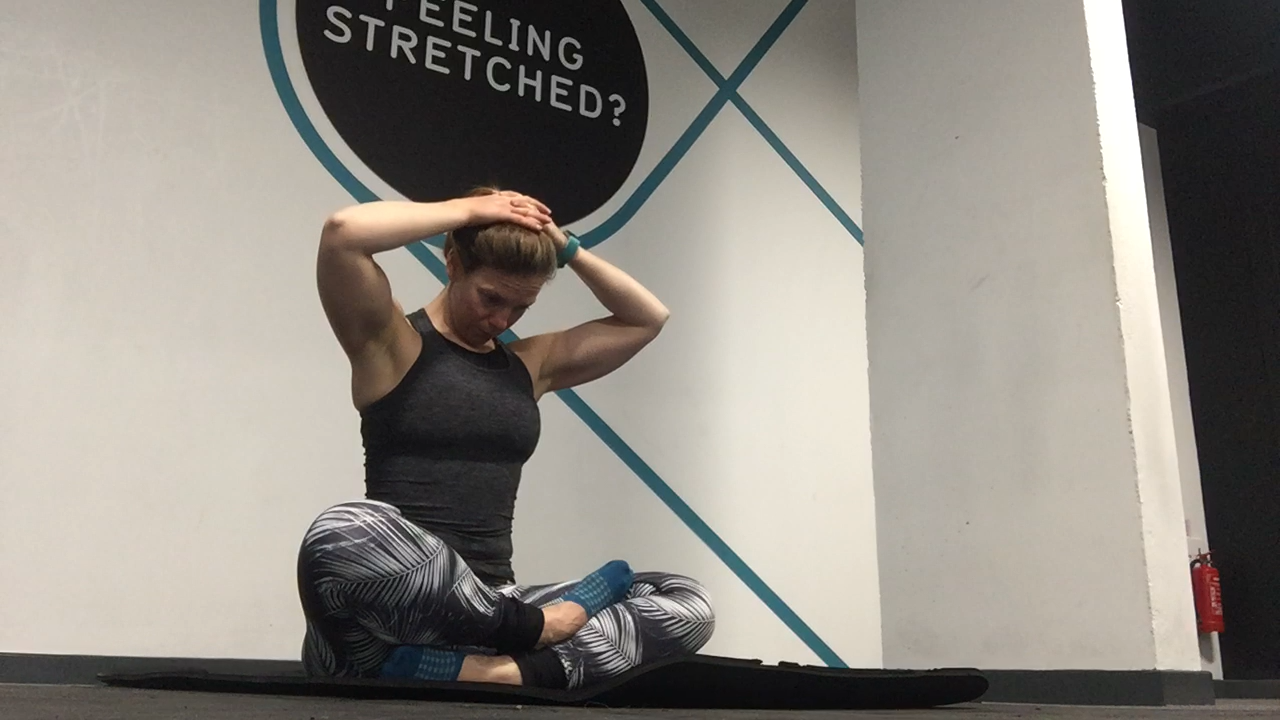
Traps Stretch:

The traps are a long line of muscles that start at your neck and reach down to your pelvis. This stretch targets upper traps.

Bring your chin to your chest, drop your head and place your hands on the back of your head to add a little pressure.

Bring your chin to your chest, drop your head and place your hands on the back of your head to add a little pressure.

Levator Scapulae Stretch

This is a particularly good stretch for people who perform a lot of rotational movements e.g. cyclists, drivers. 

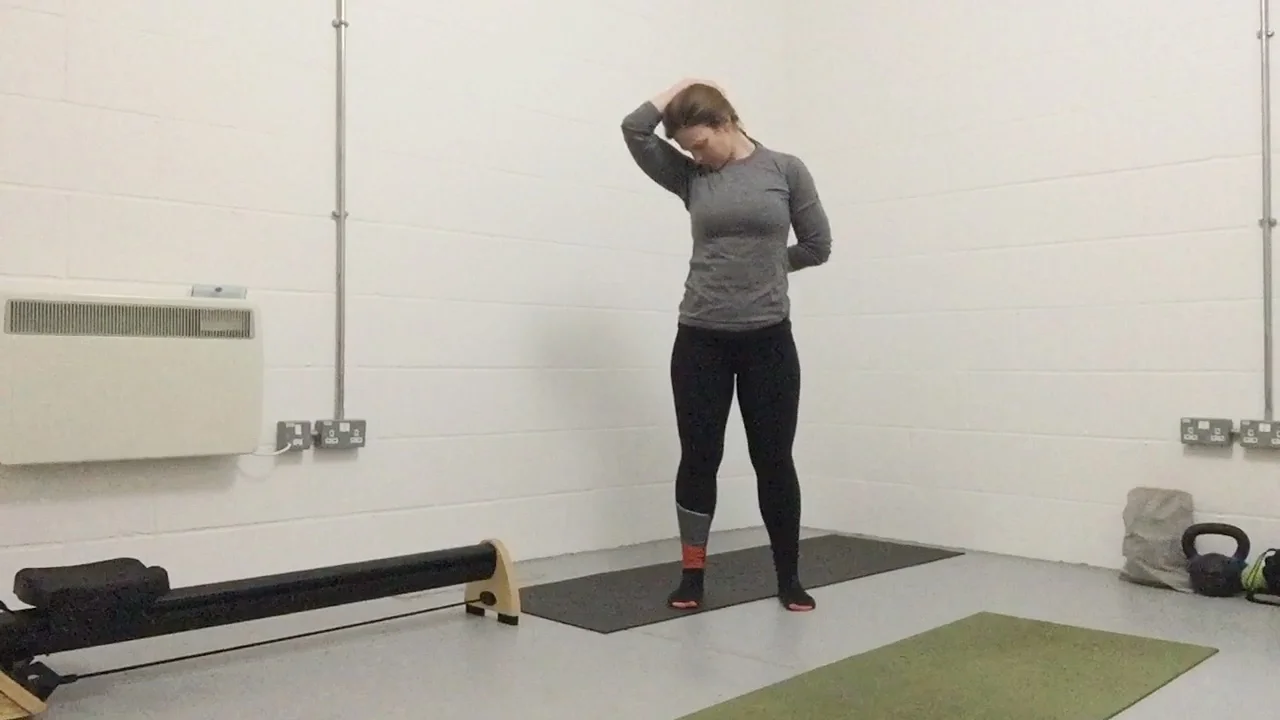
Place an arm behind your back. Rotate your head in the opposite direction until you reach 45 degrees. Drop your chin to your chest and place a hand on the back of your head. You should feel a stretch down the side of your neck.

Place an arm behind your back. Rotate your head in the opposite direction until you reach 45 degrees. Drop your chin to your chest and place a hand on the back of your head. You should feel a stretch down the side of your neck.

Sports massage can help improve your flexibility and range of movement by efficiently stretching the muscles. This is by far more efficient that you stretching on your own.

Don't over stretch your body, this can lead to a tear or rupture of a muscle.

Before starting an exercise routine, you should seek medical advice if you haven't exercised for some time or have recently had an operation, are pregnant or have recently given birth.

The Benefits of Exercise after giving birth and 3 simple exercises for core and pelvic floor strength

The Benefits of Exercise after giving birth and 3 simple exercises for core and pelvic floor strength

Why you should exercise after giving birth?

  • core recovery allows our spine to regain stability
  • reduction of postnatal injury – leg cramps, oedema, CTS, altered blood pressure, constipation
  • pelvic floor – reduces incontinence
  • posture – reduced lower back pain
  • improves our stamina and energy levels
  • natural high – improved positive mood
  • improves sleep – exercise results in our body releasing relaxing hormones
  • fat burning – activity increase metabolic rate, which helps burn fat
  • improved self-image – reduced post natal blues

When is it safe to exercise?

There are certain conditions after you've had a baby when you should seek medical advice before starting an exercise programme. I've listed these below. However, in general, if you had a natural birth you can:

  • start exercising your core and pelvic floor 24 hours after birth (gently)
  • start active (walking/small jogs/body weight exercises) 6 weeks after giving birth

If you had a caesarean section you can:

  • start exercising your core and pelvic floor as soon as you feel like you are healing well
  • start active (walking/small jogs/body weight exercises) 12 weeks after giving birth

Exercises to avoid:

  • —Plyometric
  • —High intensity
  • —High impact
  • —General population classes (post birth classes for mums are not included in this)
  • —Prolonged stretches
  • —Flexion exercises (bending forwards)

If you have one of the below conditions, it is advisable to seek medical advice before commencing an exercise programme:

  • —Severe or chronic conditions
  • —Poorly controlled type 1 diabetes
  • —Extreme morbid obesity
  • —Extreme low weight
  • —History of sedentary lifestyle
  • —Poorly controlled hypertension (high blood pressure)
  • —Poorly controlled thyroid disease
  • —Heavy smoking
  • —Before 6 weeks if natural birth
  • —Before 12 weeks if caesarean section
  • —Any unstable condition
  • —Resting tachycardia
  • —Blood pressure over 160/100

Core/Pelvic Floor Exercises:

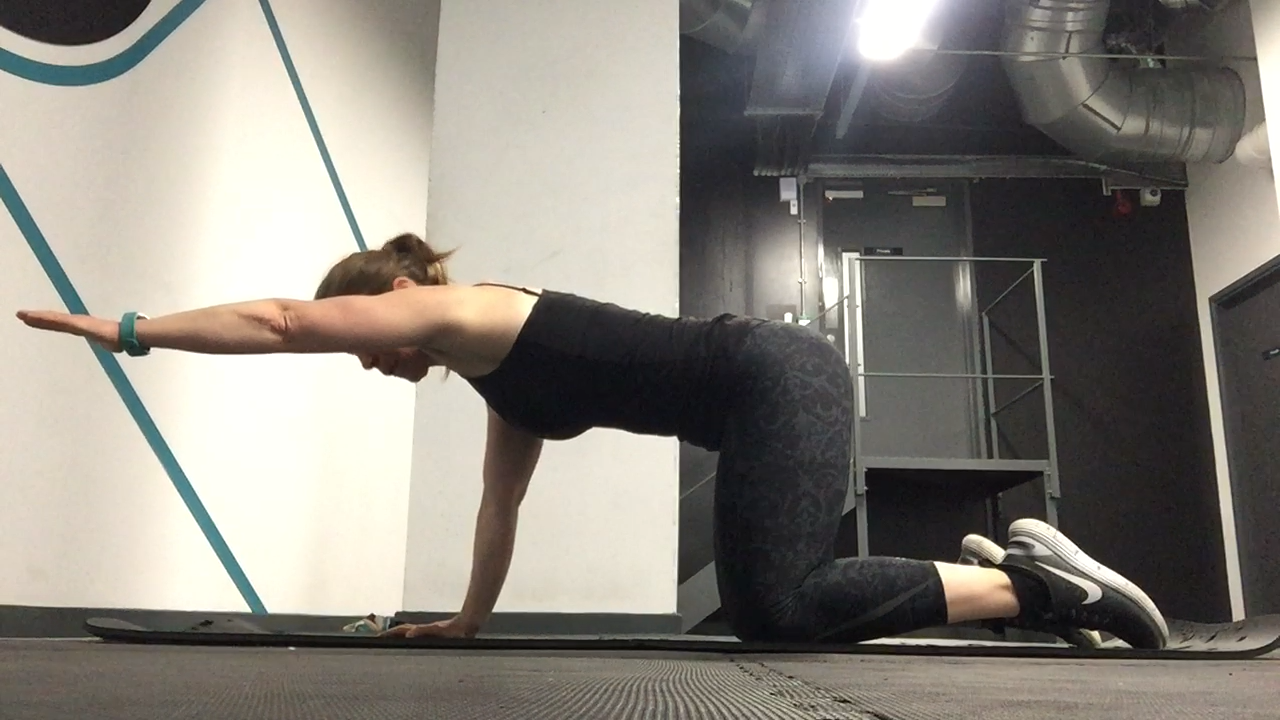
Four Point Vacuum -> lifting hands -> raising arms -> raising legs (baby underneath)

Four Point Vacuum -> lifting hands -> raising arms -> raising legs (baby underneath)

Lying on back, squeezing core -> Sliding Leg along floor -> Holding one leg above floor and sliding other leg -> Holding both legs above floor and sliding both back and forth (baby on chest)

Lying on back, squeezing core -> Sliding Leg along floor -> Holding one leg above floor and sliding other leg -> Holding both legs above floor and sliding both back and forth (baby on chest)

Glute Bridge -> hands pressed down into floor -> lifting hips and squeezing core, pelvic floor and glutes. Gently lower. (baby on chest)

Glute Bridge -> hands pressed down into floor -> lifting hips and squeezing core, pelvic floor and glutes. Gently lower. (baby on chest)

Going skiing? Don't forget to stretch ...

Going skiing? Don't forget to stretch ...

You've spent the last 4 - 8 weeks prepping for your ski holiday. You're in the best condition of your life. You're nailing those powder turns. As you come to a halt at the bottom of the last piste, you're mind is on one thing ... quenching your thirst at the local tavern.

Here are four reasons why you should stop, cool down and stretch first before heading for that beer.

Cooling down will help clear out toxins:

Your muscles are a little like the engine in your car. Fuel in the form of oxygen goes in, this is used to create energy in the muscles and the power you need to keep an even kilter on your skis. As oxygen is burnt, your muscles create waste products. These waste products are pushed into the lymphatic system.

The lymphatic system doesn't have a pump like your blood stream. Therefore, to flush out the toxins from the muscles, consider walking around for 3-5 minutes post skiing.

Stretching will maintain your flexibility:

When you are skiing, it's like you've performed 100s of squats throughout the day. If you were to do that in a gym, you'd know to go and stretch afterwards. Skiing should be considered a strengthening exercises. All strengthening exercises tighten the muscles up. To ensure that you have mobility day after day, it's important to lengthen the muscles post activity with stretches held from 30 seconds - 1 minute.

Stretching can improve performance:

If you want to improve your performance on the slope, you need to look after your body. You may find that a certain move isn't available to you. This is not necessarily because there is no strength in the muscle. It may be due to a mobility issue, which restricts your movement in a certain plane of motion. By stretching (dynamically) before skiing and performing static stretches afterwards, you are going to increase the performance of your body.

Stretching can reduce the risk of injury:

Say you've skied for a week and you're starting to feel a little sore. At first you started feeling a niggling pain in your ankle or knee. In the second week the niggle turns into an ache. By the third week you're struggling to put pressure through that leg when you're turning and by the fourth week what was once a niggle is now an inflamed tendon and you can't ski for more than an hour without continuous pain.

At this point, your options are to rest (not going to happen if it's a powder day), or to try and strap the affected joint. This may work for a short period of time, but you will have to rehabilitate the injury later on. An inflamed tendon can take more than 8 weeks to recover. It can also turn into a tear or complete rupture of the soft tissue, worst case.

The simplest way of ensuring that you reduce the risk of injury is to stretch after skiing. This means holding static stretches for 30 seconds to 1 minute. By lengthening the muscles before they repair, they will shrink (the strengthening process) less and provide you with the mobility required to continue skiing.

Stretching will allow muscle tissue to glide:

By adding tensile pressure to a muscle, this helps remove adhesions from the tissue. If there are no adhesions, the muscle will glide smoothly, making movement flow as you ski down the slopes.

Check out my skiing stretches below.

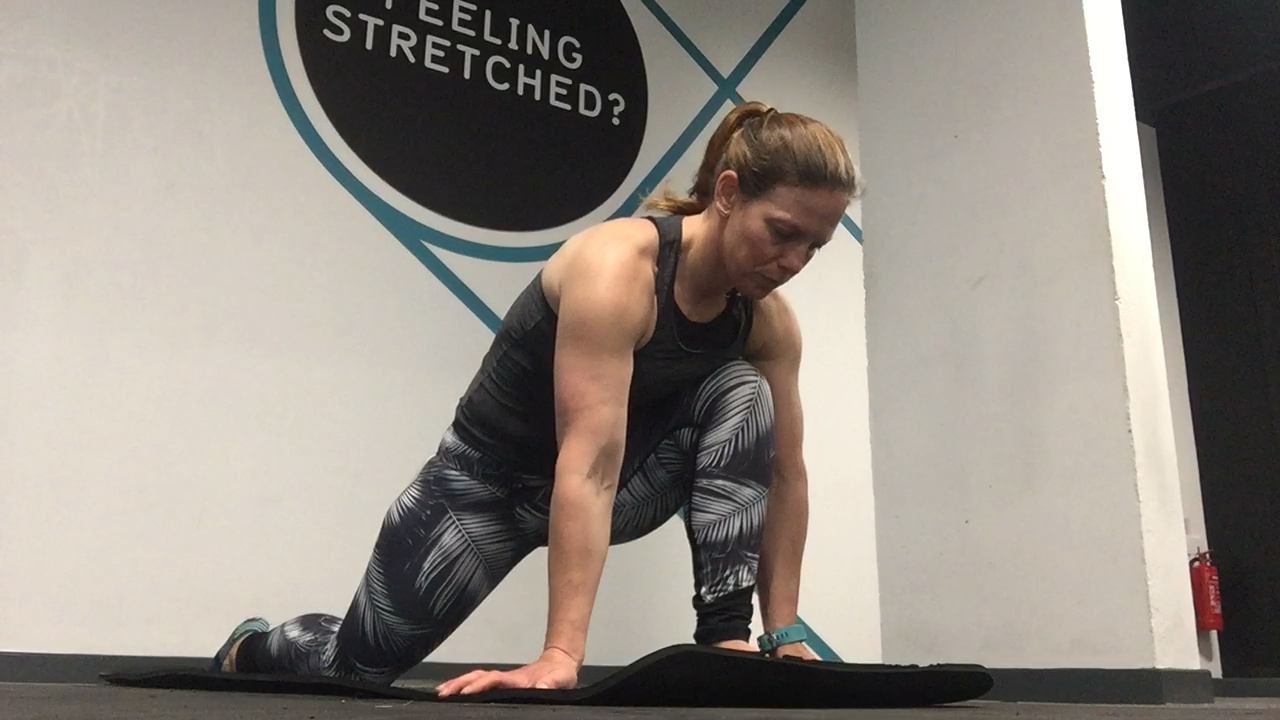
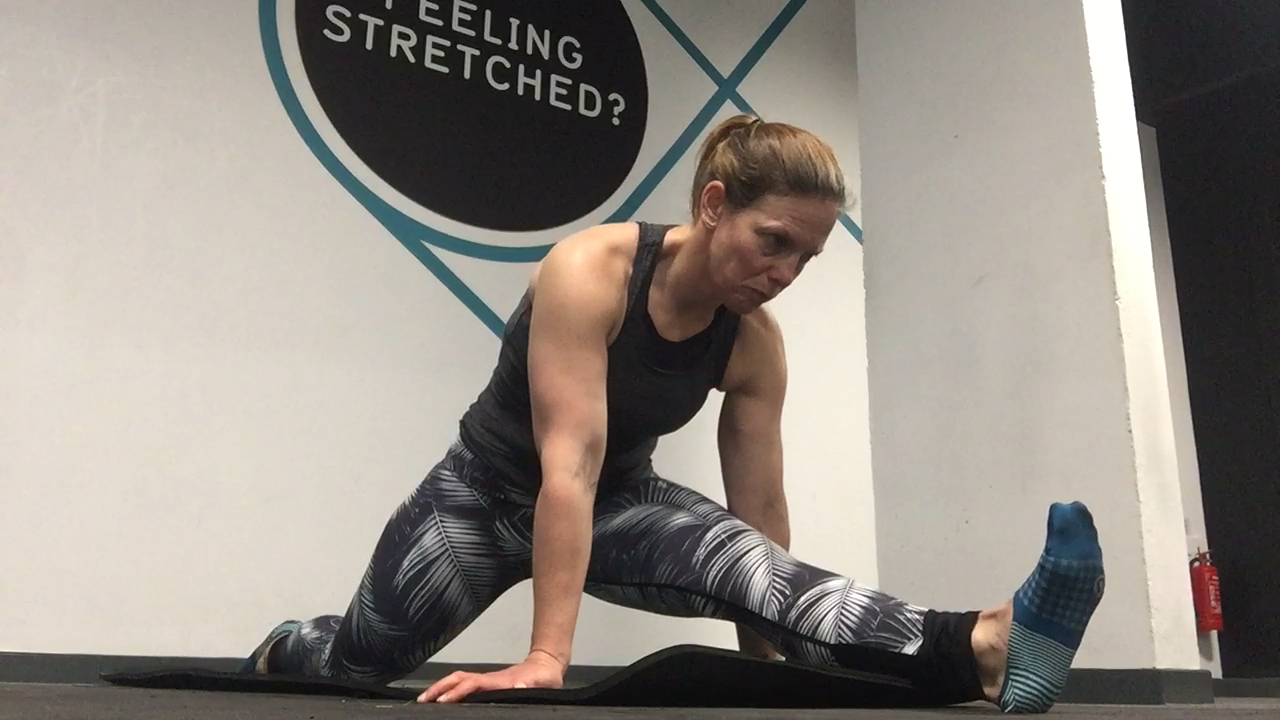
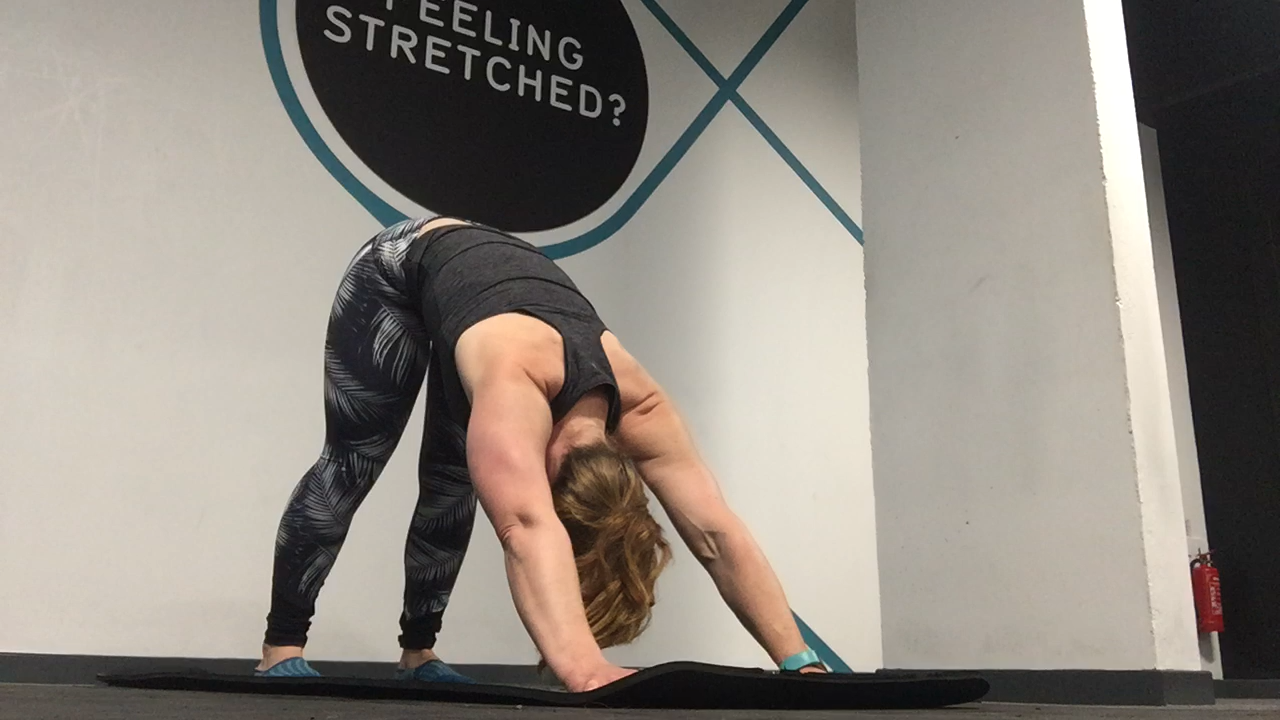
Hip flexor stretch

Hip flexor stretch

Hamstring & Hip Flexor stretch

Hamstring & Hip Flexor stretch

Glute Stretch

Glute Stretch

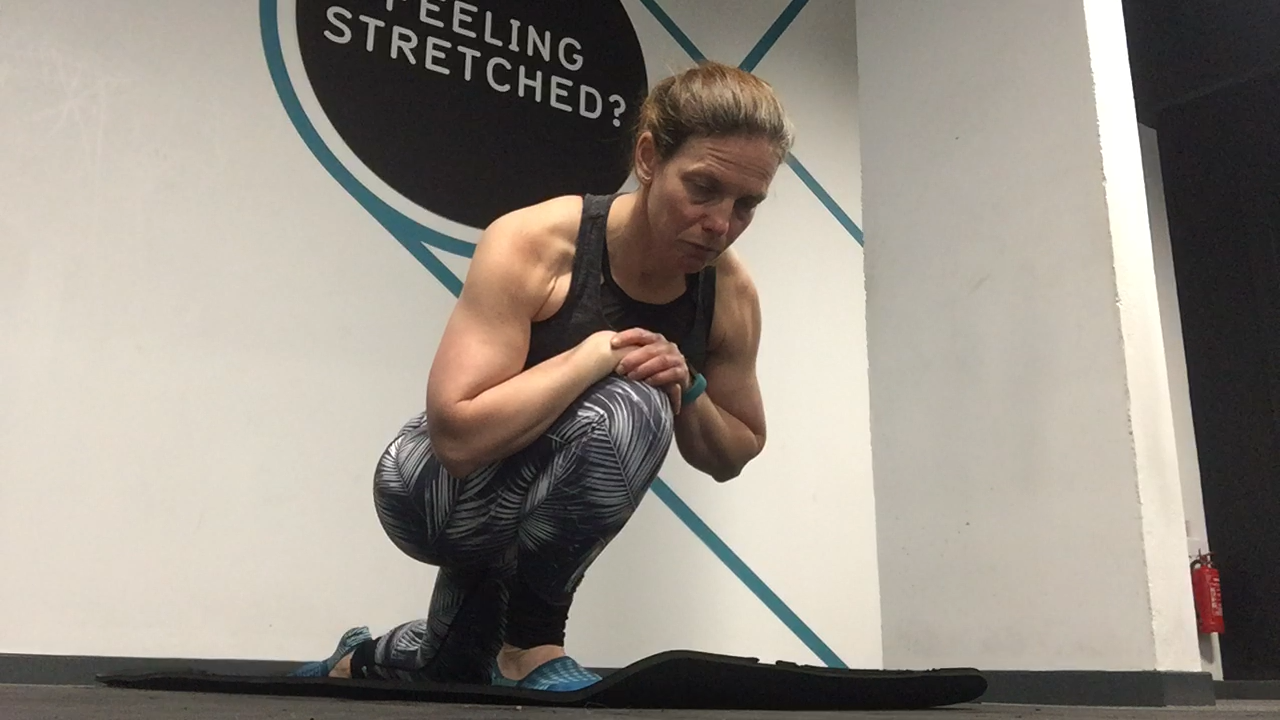
Piriformis (Glute) Stretch

Piriformis (Glute) Stretch

Quad Stretch

Quad Stretch

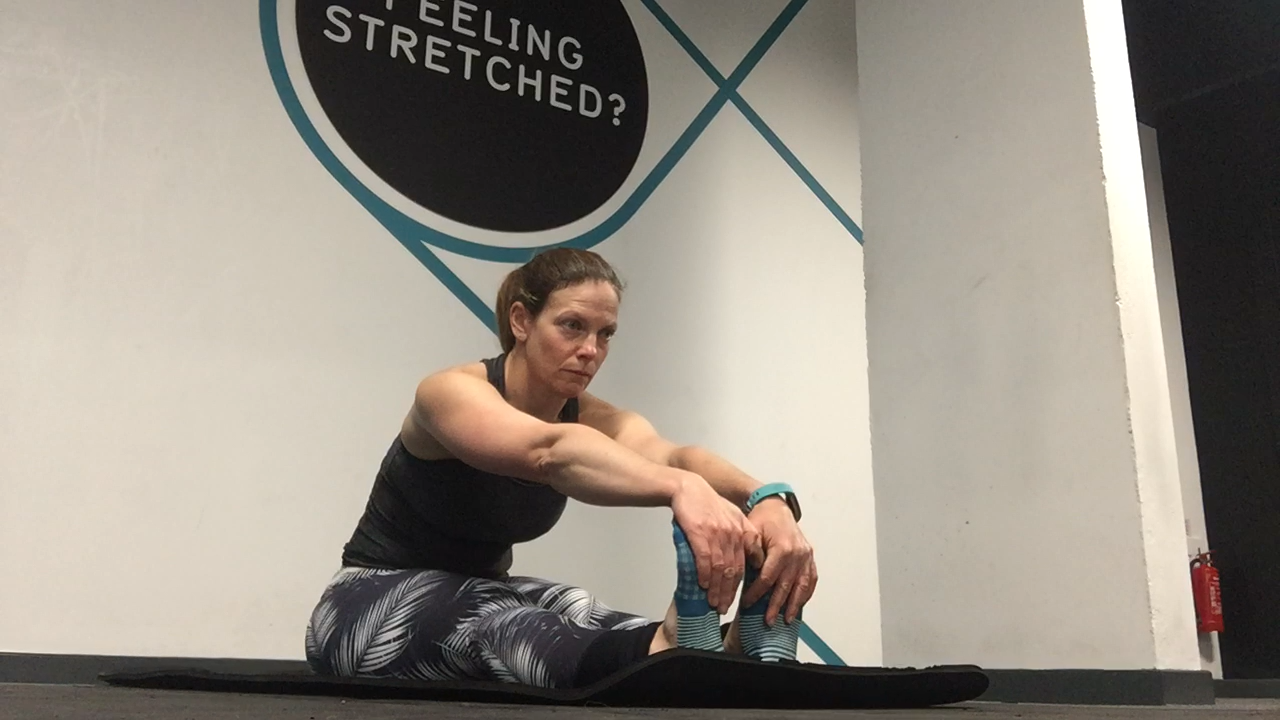
Hamstring Stretch

Hamstring Stretch

Chest Stretch

Chest Stretch

Calf Stretch

Calf Stretch

Lower Back Stretch

Lower Back Stretch

Shin Stretch

Shin Stretch

Soleus (calf) Stretch

Soleus (calf) Stretch

Savoury Pancakes

These savoury pancakes are really tasty and make a great savoury meal, if you prefer savoury pancakes to sweet pancakes. They also take about 20 minutes to make, so they're great for a quick healthy meal.

Serves 2

Ingredients:

Pancakes:

200gms sweet corn

2 eggs

4 tbsp rye flour

20gms feta cheese

butter (for frying)

Salad:

1 Beetroot

6 cherry tomatoes (from the vine taste the best)

8 rashers of pancetta

20gms of feta cheese

a hand full of parsley

a hand full of chilli flakes

6 walnut halves

Method:

Put the pancake ingredients into the mixer and mix thoroughly. The mixture should appear slightly lose (drips off a spoon slowly). Transfer the mixture to a measuring jug, I find this the easiest way of pouring the mixture into a pan to fry.

Add a small amount (stamp sized) of butter to a non-stick frying pan and make sure it reaches all parts of the pan - you don't want your pancakes to stick!

Place the pancetta in a frying pan on a low heat and get a plate with kitchen roll ready. Slowly cook the pancetta and transfer to the plate to drain the fats. No extra oil is added when cooking the pancetta.

While the pancetta is cooking, pour your pancake mixture into the centre of the pan until it reaches approx. 10cm in diameter. Using the pan, move the mixture around so that it flattens into a pancake shape. Fry for 1 minute before flipping over to the other side. Fry for another minute and then place on a plate in the oven. The oven should be at 100 degrees to keep the pancakes warm. Continue with the rest of the mixture, and you should have 4 lovely pancakes.

For the salad, slice the beetroot into 5mm slices, and place on the pancakes. Slice the tomatoes in 2 and place around the outside of the pancakes. Add the pancetta to the top of the beetroot, crumble feta cheese on top, add the chilli flakes and parsley to taste and serve!